The Return-to-Throwing Checklist Every Pitcher Needs
The Return-to-Throwing Checklist Every Pitcher Needs - Lewis Physical Therapy & Sports Rehabilitation
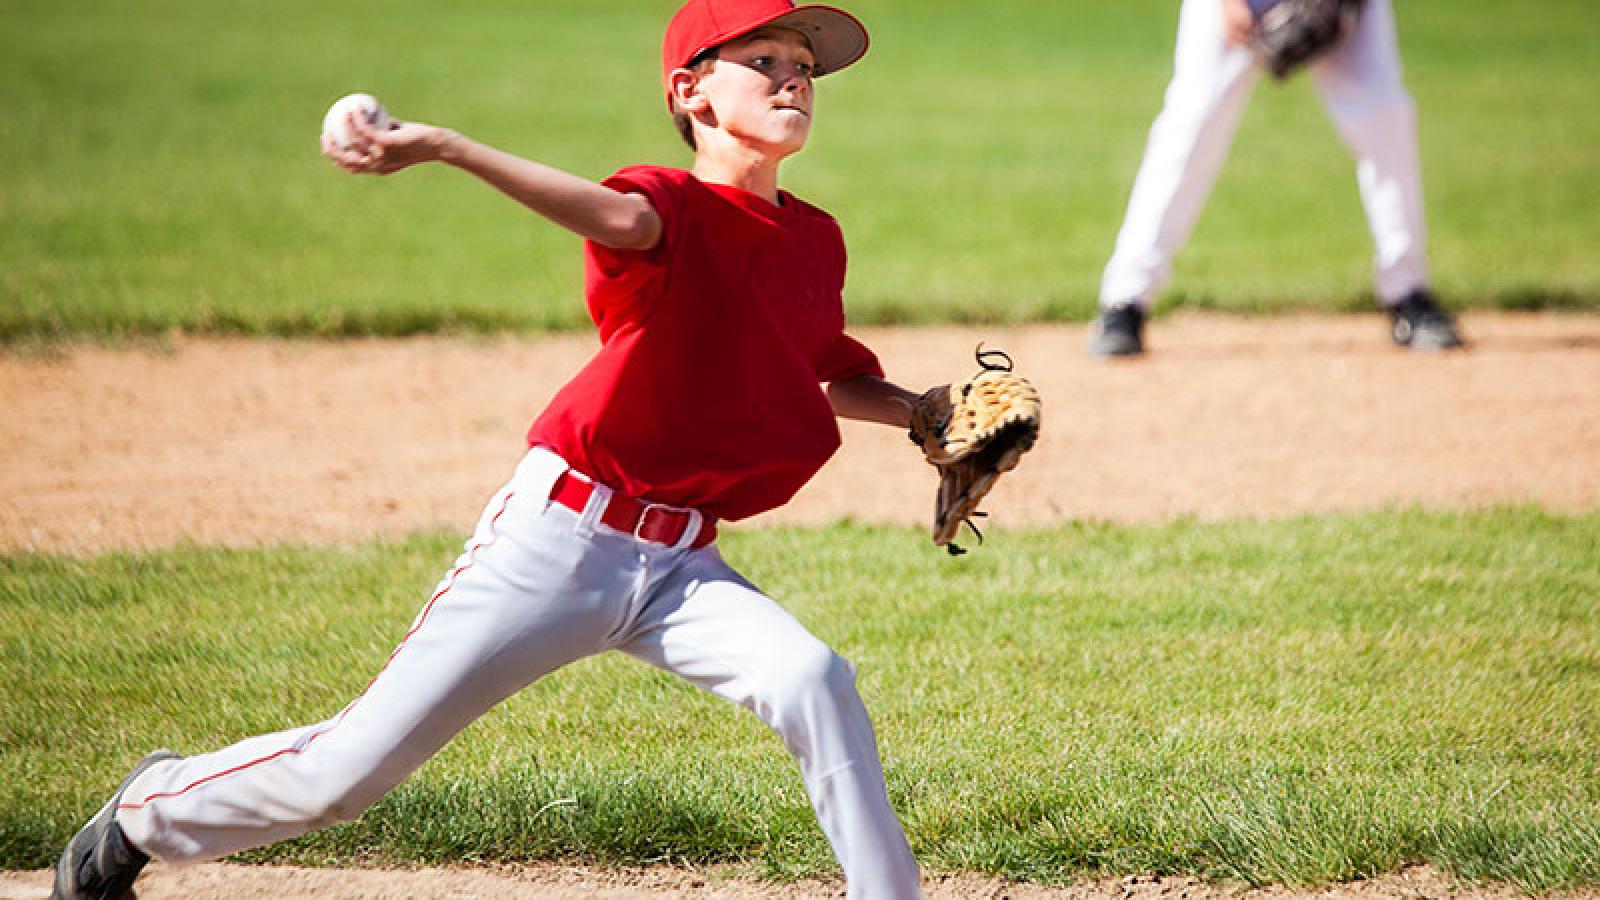
Returning to throwing after an injury is one of the most critical phases in a baseball player’s career. Yet, it’s also where most athletes—and even some providers—make mistakes.
The biggest issue?
They base return-to-throwing on time… not criteria.
If you want to stay healthy and actually perform when you come back, you need a structured checklist.
🎥 Watch the Video Breakdown
Before we dive in, make sure to watch the full breakdown where I walk through this entire process step-by-step.
Watch on Youtube Here:
⚠️ 1. You Must Have Normal Range of Motion
Before throwing even becomes a conversation, your shoulder and elbow mobility need to be restored.
Key benchmarks:
Less than 5° difference side-to-side for the following movements
Total Range of Motion (External Rotation + Internal Rotation)
Flexion with Scapulae Pinned
Flexion without Scapulae Pinned
Cross-body adduction to ~90°
If you’re off by 6-8 degrees? It might not mean you can't throw, but need to be VERY closely monitored. Off by 15-20 degrees? We have some work to do.
💪 2. Strength Ratios Matter More Than You Think
Most athletes focus on “feeling strong.”
That’s not enough.
You need objective data.
A key metric:
External Rotation (ER) to Internal Rotation (IR) MINIMUM ratio ≥ 67% (I personally prefer this to be closer to .8 to start throwing. However, for some athletes post-TJ or labrum surgery, this is an okay value to clear for throwing, but they must continue to progress closer to .8-.85 before returning to games.
Why this matters:
Throwing demands high eccentric control
Weak ER = poor deceleration = higher injury risk
You also need:
Less than 10% strength asymmetry side-to-side
🏋️ 3. You Need to Tolerate Load in the Gym
Before throwing, your arm needs to prove it can produce & accept forces.
This includes:
Push movements
Pull movements
Overhead patterns
Carrying/holding heavy weight
If your arm can’t tolerate the gym…
It won’t tolerate throwing.
🔗 4. Closed-Chain Stability Comes First
Before high-speed throwing, we build stability through a wide varieyt of closed-chain drills.
Examples:
High Plank
Bear crawls
Side Planks
This improves:
Joint control
Co-contraction of the rotator cuff
Force transfer by emphasizing the use of the kinetic chain (core/legs working in conjunction with upper body)
⚡ 5. Plyometrics (But Don’t Overdo It)
This is where a lot of programs go wrong.
You don’t need:
20 different plyo drills
Max-effort throws before throwing
Instead:
Start with extensive (low intensity, high reps)
Progress to selective intensive work (higher intensity, lower reps)
Focus on:
Quality
Control
Intent
⚾ 6. Sometimes… Throwing IS the Plyometric
One of the biggest mindset shifts:
Throwing itself is a plyometric activity.
In some cases, especially:
Short layoffs
Good strength + mobility
You don’t need an extended plyo phase.
You need:
➡️ Smart progression back into throwing
🚨 The Biggest Mistake I See
Athletes returning from elbow injuries…
Without ever testing their shoulder.
Or vice versa.
That’s a recipe for re-injury.
🗓 Ready to Start Throwing Pain-Free? Book Your Evaluation Today
👉 https://go.dptpreneur.com/widget/form/zt52az6nu2DnPG0S4SyG
📘 The Arm Pain Blueprint (FREE Download!)
👉 https://app.dptpreneur.com/v2/preview/4J7IWRe36z3WAeFeGxmv
⚾ Pitcher’s Mechanical Blueprint (FREE GUIDE)
👉 https://go.dptpreneur.com/widget/form/n11cl2tkQwwi9BfjnWpz
🎙 Listen to This Episode on The Lewis Physical Therapy & Sports Rehab Podcast
Catch the full breakdown of return-to-throwing criteria and how to avoid re-injury.
🎧 Listen on Spotify:
https://open.spotify.com/show/4A6iBs0CzkAwSu9rUVPfGX?si=lrea2AaWQSy5USIT90KXhQ
